
This simple gravy recipe comes together in just a few minutes and works with whatever drippings you have in the pan. It's rich, silky, and flexible - you can make it with or without milk, depending on what's in your kitchen. Perfect for holidays and weeknight dinners alike, this no-fuss method gives you reliable, delicious gravy that's ready to serve in under 5 minutes.
Updated November 2025: This post was refreshed with clearer instructions, expanded troubleshooting tips, and updated variations (with and without milk).
A Quick Look At The Recipe
Ready In: 5 minutes
Serves: 6-8
Calories: ~45 per 2 tablespoon (varies by drippings)
Main Ingredients: Pan drippings, cold water, cornstarch
Dietary Info: Naturally dairy-free (milk variation included)
⭐ Why You'll Love It: A fast, flexible gravy recipe that works with any drippings - and with or without milk.
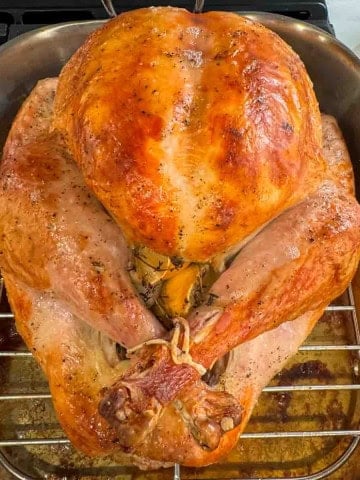
I've been making this simple gravy recipe since I first learned to roast a chicken - the kind where you lift the bird out of the pan, see all those golden drippings, and know exactly what's coming next. Over the years, I've tested it every way you can imagine: dairy-free, broth-only, classic milk gravy, and even no-drippings emergencies. It's the method I trust for holidays and Sunday dinners because it's fast, forgiving, and works with whatever you've got on hand.
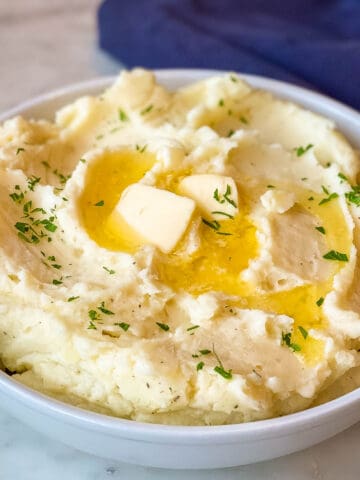
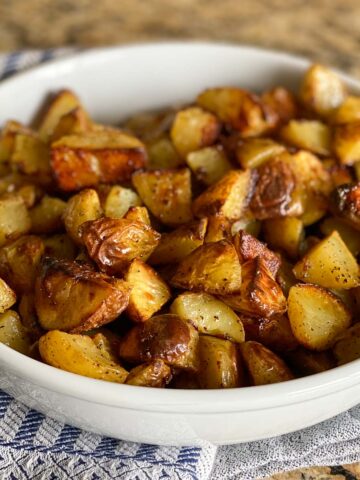
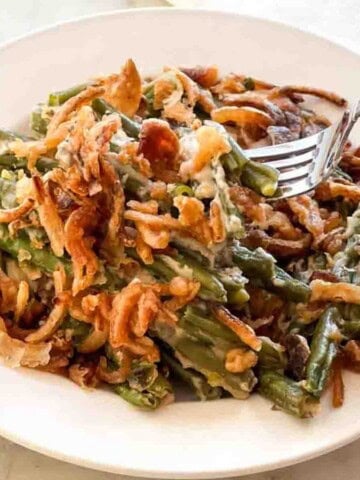
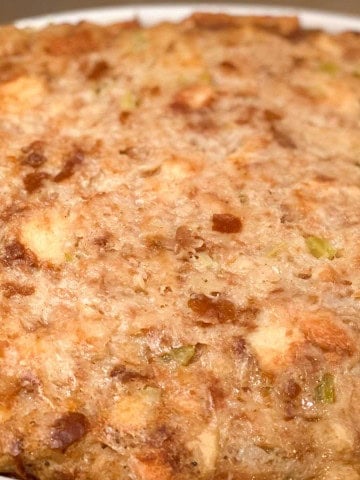
Planning a holiday meal? It pairs beautifully with my Thanksgiving Turkey Recipe, Creamy Mashed Potatoes, Traditional Stuffing Recipe, and Creamy Green Bean Casserole everyone expects. It's also perfect with Oven-Roasted Turkey Breast, a cozy fork-tender Pot Roast, or a batch of Swedish Meatballs. For more ideas, explore the entire Thanksgiving Recipes Hub.
Jump to:
Why You'll Love This Recipe
- Holiday-perfect: Your Thanksgiving and Christmas table needs this.
- Ready in 5 minutes: No roux, no fuss, just whisk and go.
- Flexible: Works with turkey, chicken, beef, pork, or store-bought rotisserie drippings.
- Dairy-free or classic: Make it with broth/water or add milk for a creamier version.
- Beginner-friendly: Foolproof method that always turns silky and smooth.
Here's What You Need
- Pan drippings - The flavorful base of this simple gravy recipe.
- Cold water - Must be cold for cornstarch to dissolve properly.
- Cornstarch - The thickening agent that gives the gravy its silky finish.
- Salt + pepper - Add only after tasting; drippings vary in saltiness.
- Optional: broth or milk - Broth adds depth; milk creates a creamier, old-fashioned version.
See the recipe card for full information on ingredients and quantities.
Substitutions & Add-Ins
- Broth instead of water: Adds more flavor; match it to your protein.
- Milk variation: Replace some liquid with milk for a classic creamy gravy.
- Gluten-free: Cornstarch is naturally gluten-free; just check your broth.
- No drippings: Use butter/oil + broth - the method still works.
- Flavor boosts: Add poultry seasoning, thyme, or a splash of Worcestershire.
Variations
Milk Gravy Variation (Flour Slurry Version): For a creamier version, whisk 1 to 2 tablespoons flour into 1 cup cold milk until smooth. Slowly whisk the slurry into your simmering drippings and let it bubble gently until thickened. Season to taste. This is the classic Midwestern method my mom always used for a richer, creamier gravy.
No-Drippings Gravy (Emergency Version): Melt 2 tablespoons butter (or oil) in a skillet, then add 1 cup broth and bring it to a simmer. In a separate cup, whisk 1 tablespoon cornstarch with 1 cup cold water or cold broth until smooth. Slowly whisk the slurry into the simmering broth and cook until thickened. Season to taste. This gives you a smooth, dependable gravy when you don't have any pan drippings.
How To Make Simple Gravy
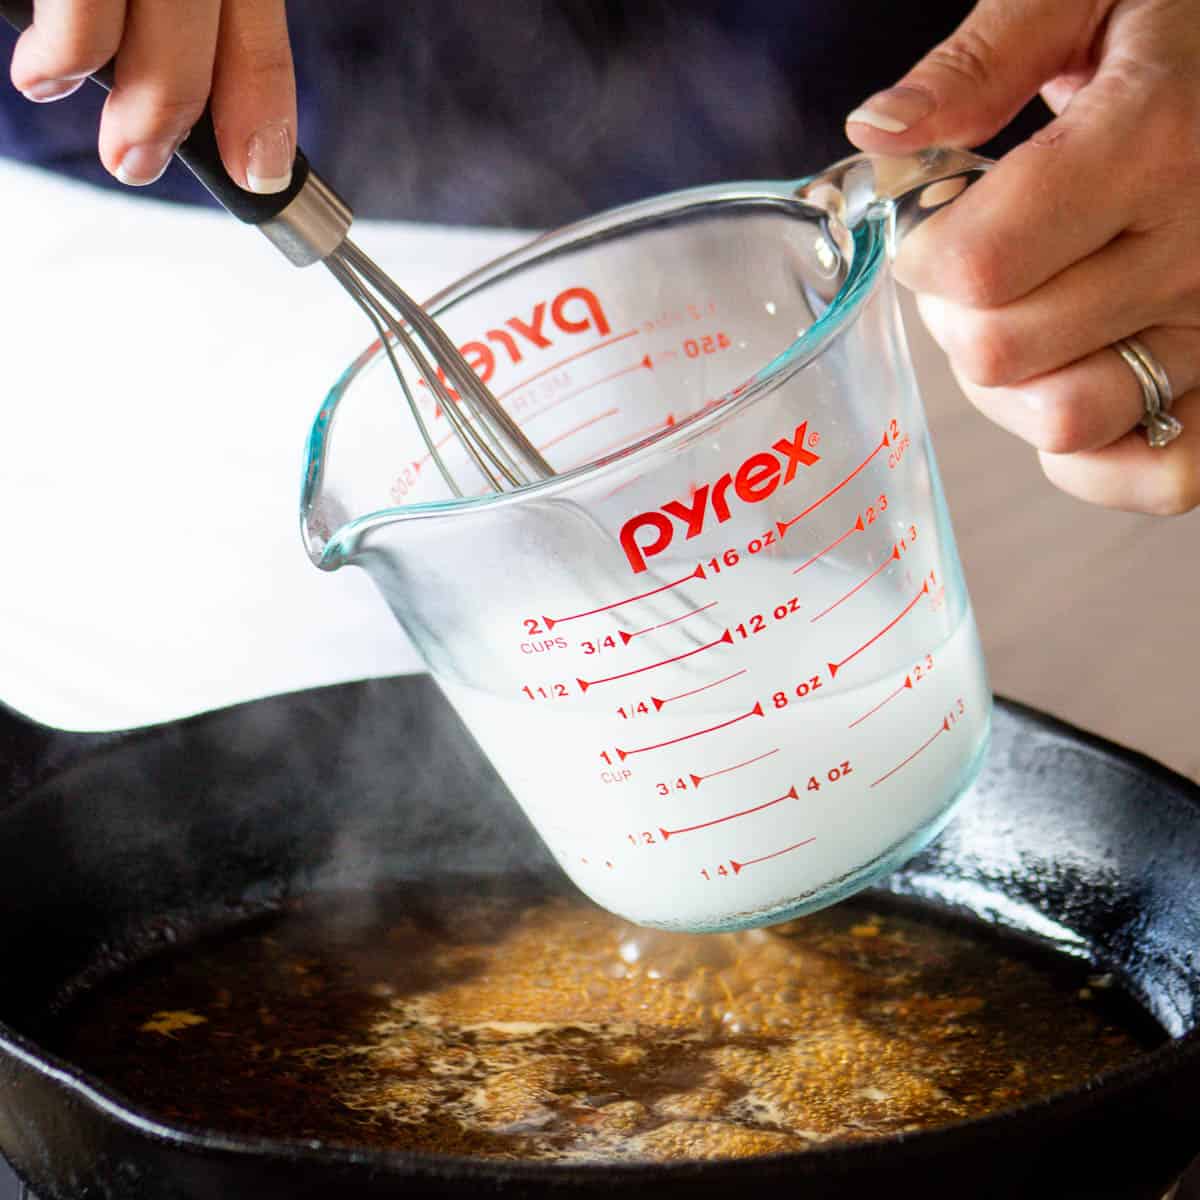
- Make Slurry. Whisk cold water and cornstarch together until smooth.
Important: Cornstarch only dissolves in cold liquid; warm water will cause clumps.
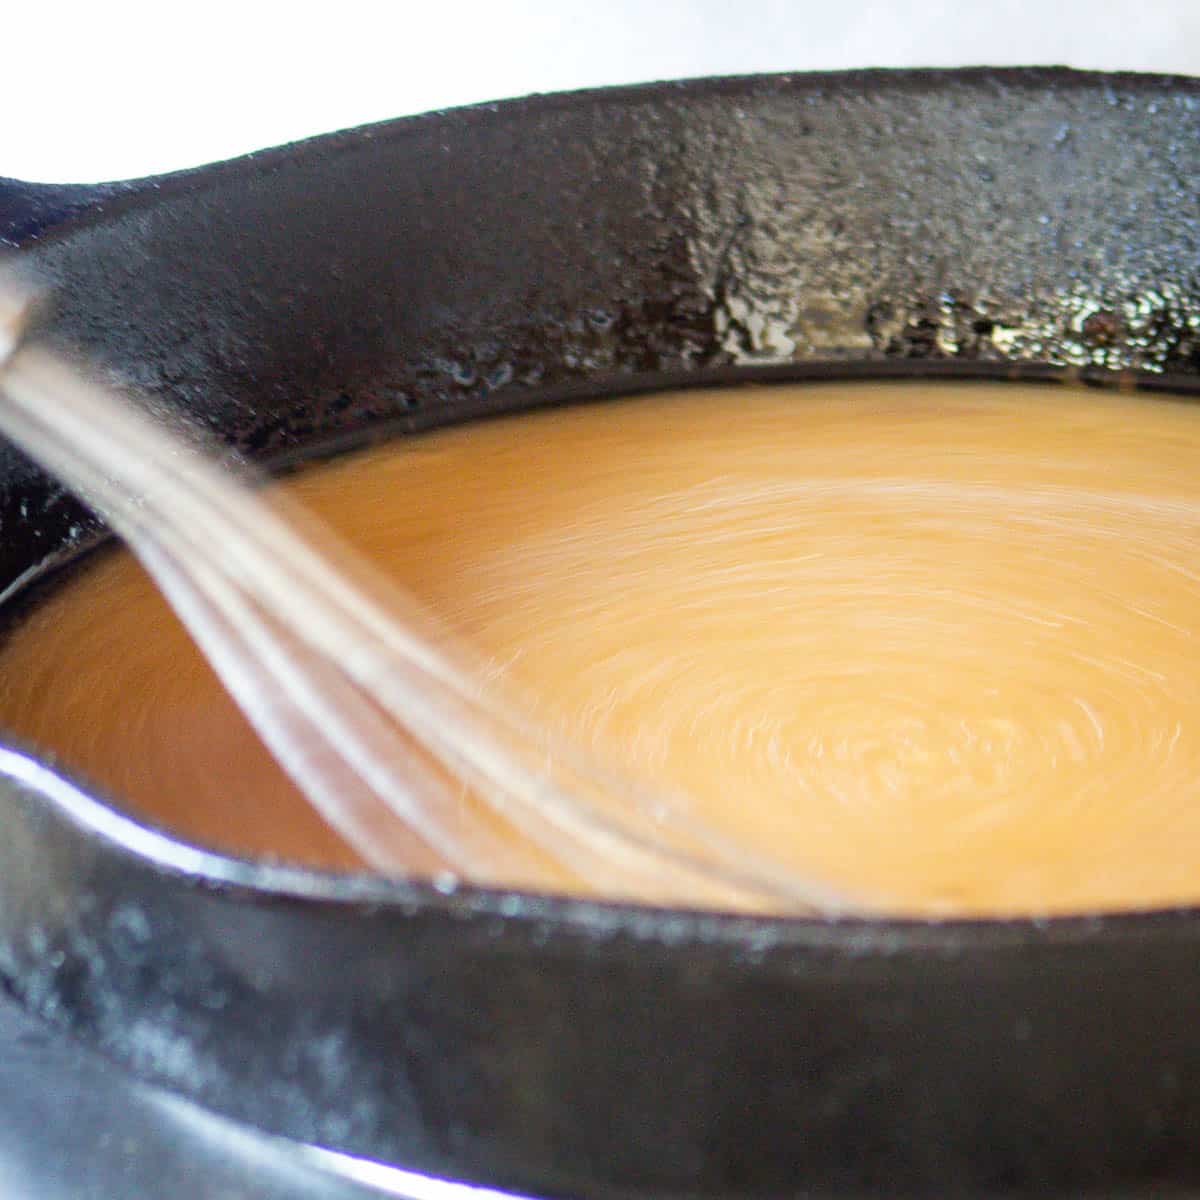
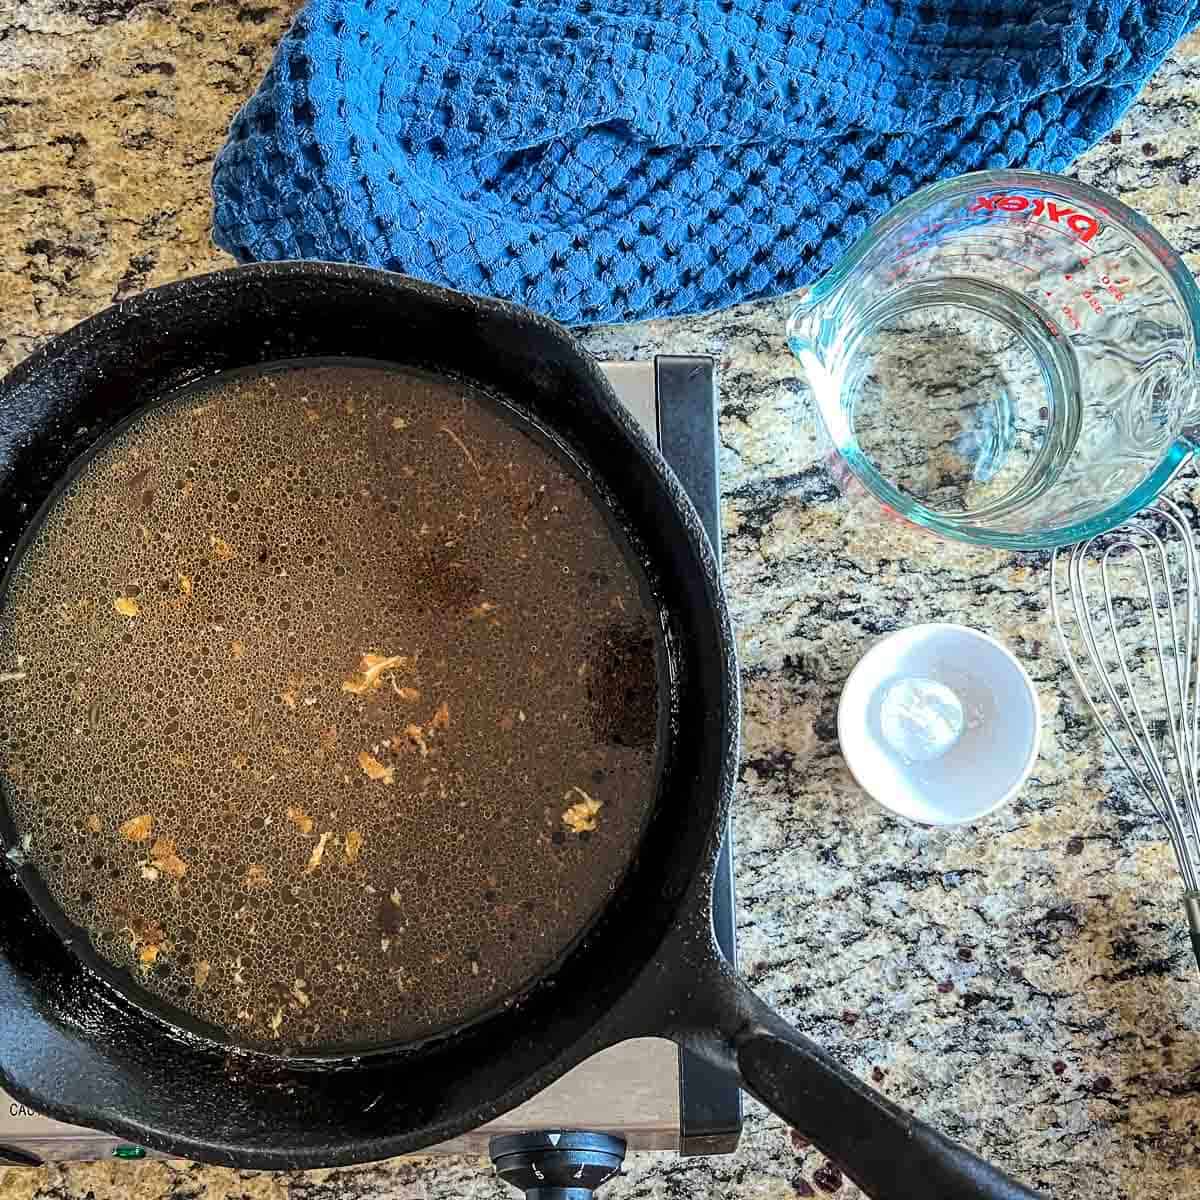
- Add Slurry to Pan Drippings. Bring the drippings to a gentle simmer, then slowly whisk in the cold slurry. Keep whisking as it thickens and briefly reaches a low boil. Once it's the consistency you like, lower the heat and let it simmer gently to keep it smooth.
- Correct Seasonings. Taste before adding salt - drippings may already be salty. Add pepper to taste.
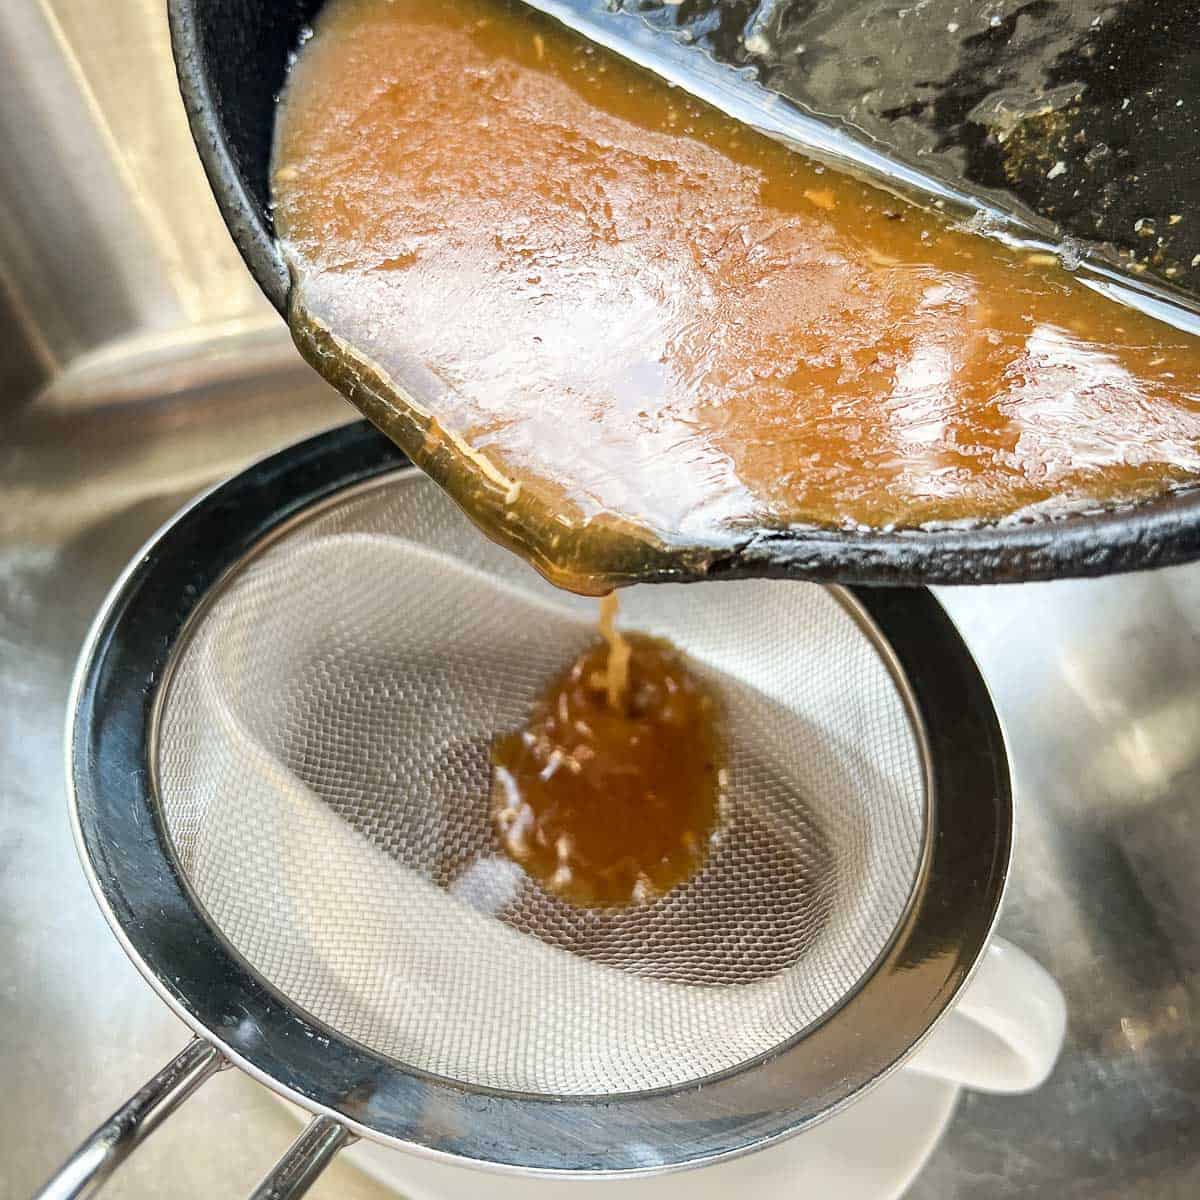
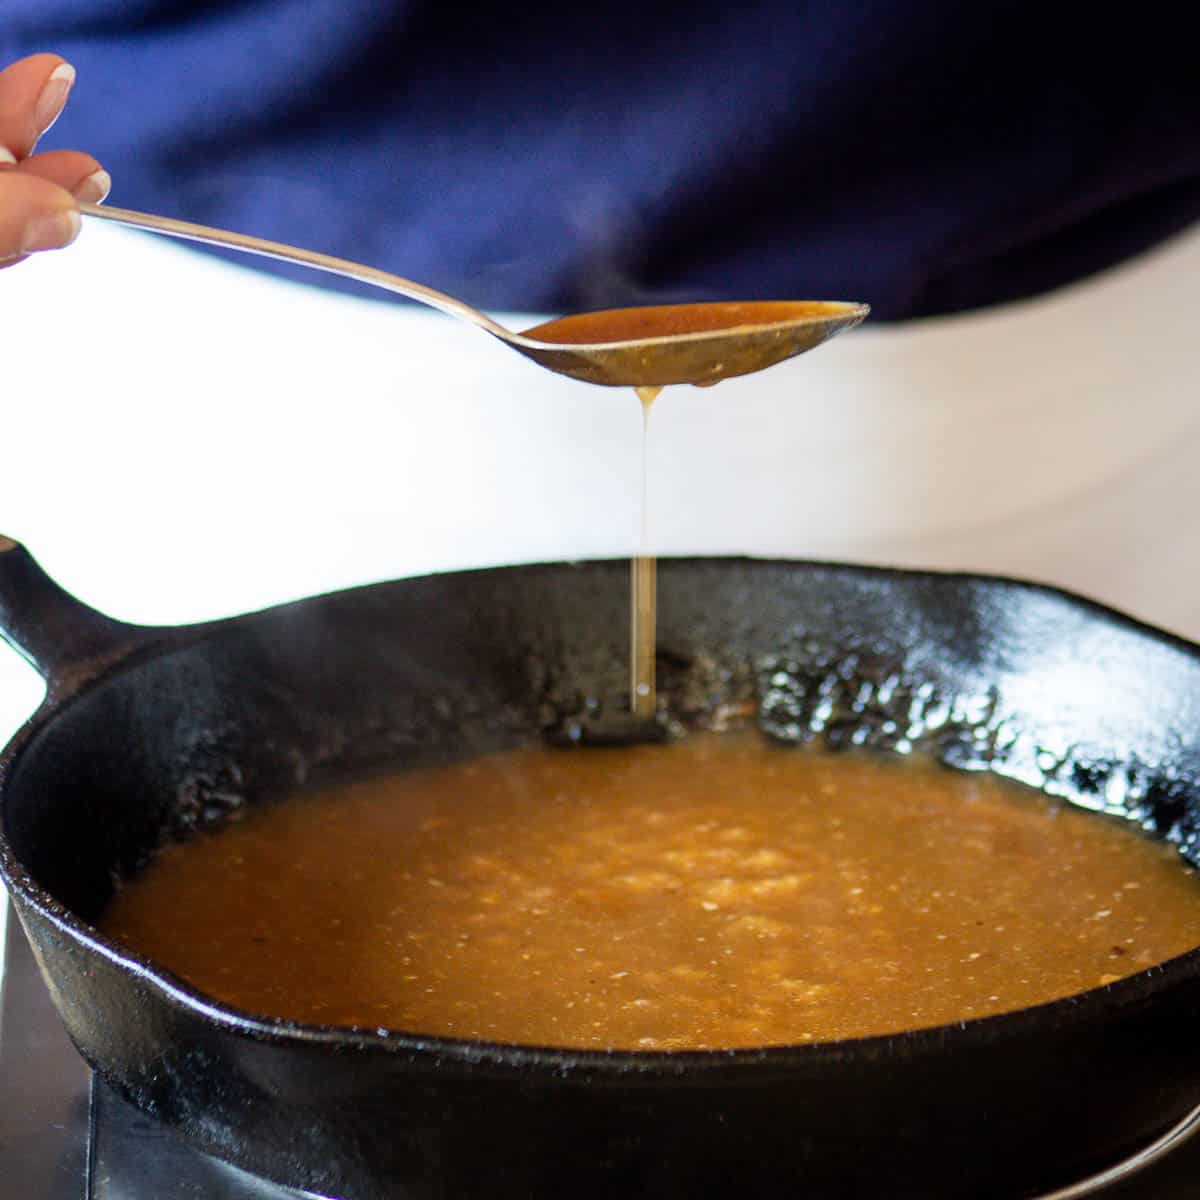
- Strain. Pour through a fine mesh strainer for the smoothest texture.
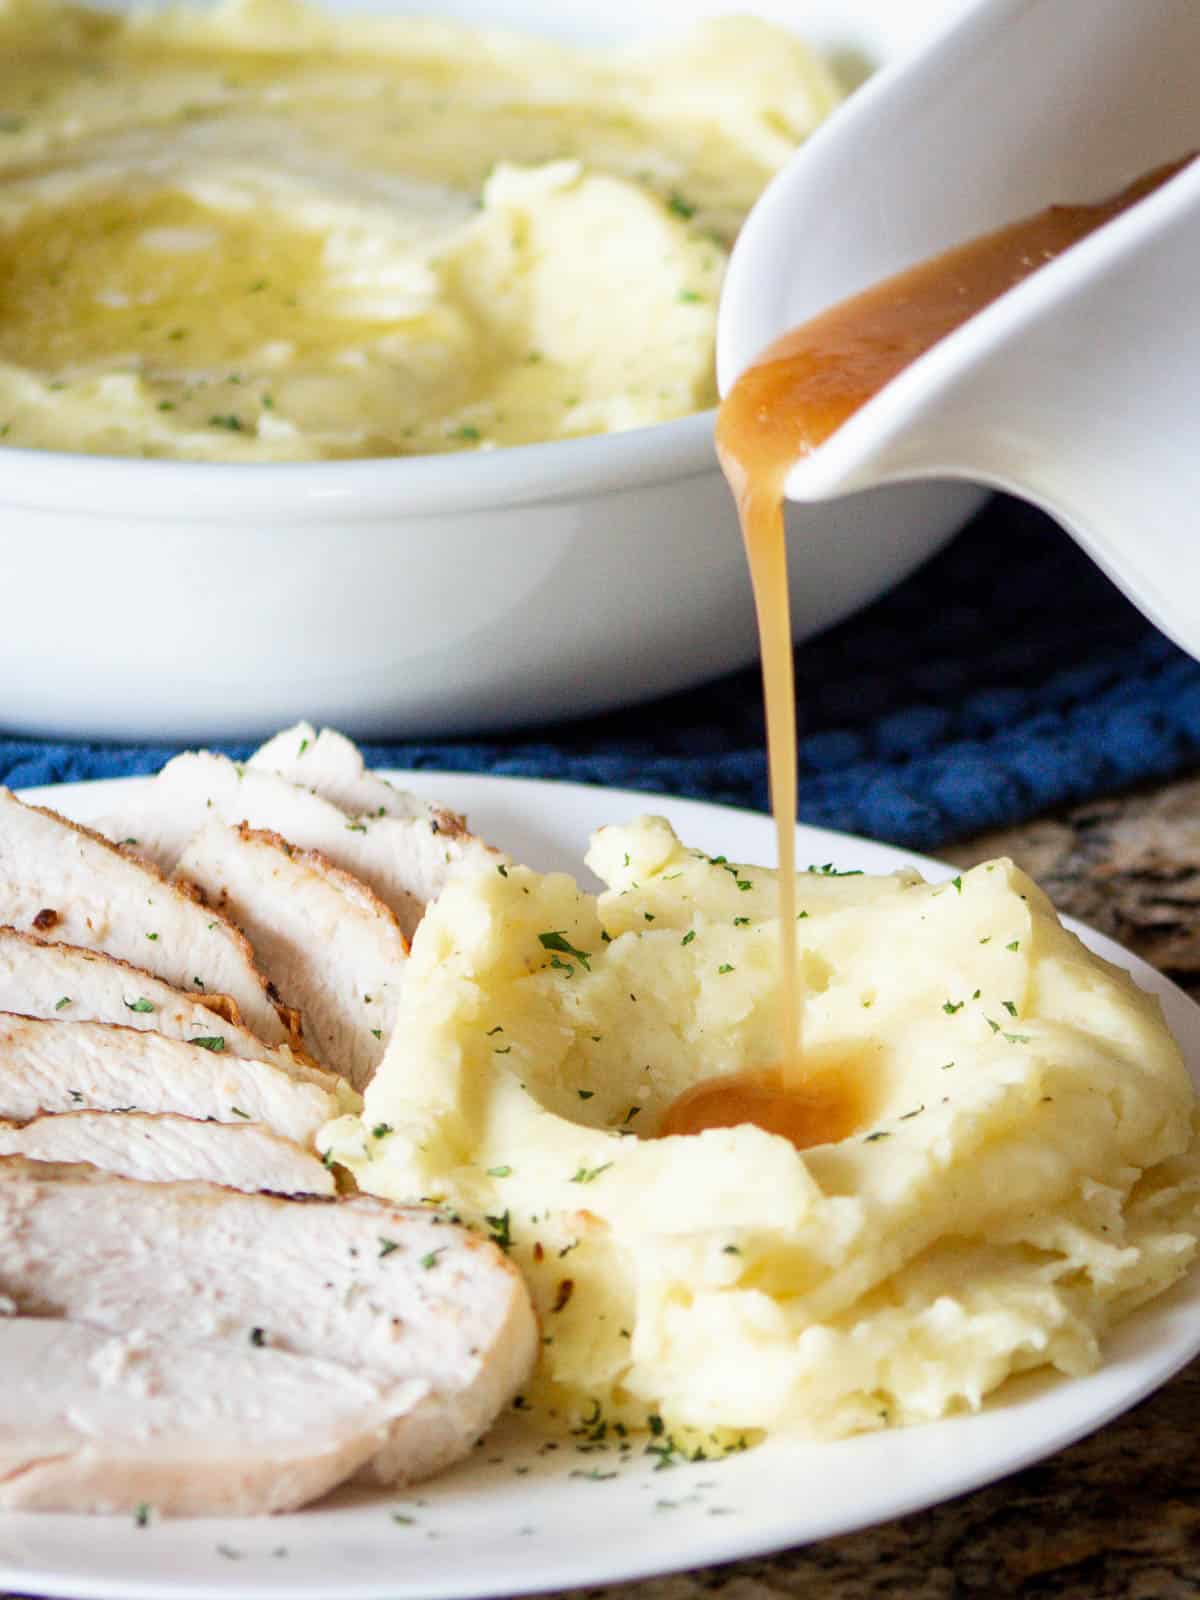
- Serve. Serve it warm. We recommend serving it in a microwave-safe container like this gravy boat, so that you can reheat it, if necessary.
Expert Tips
- Always use cold liquid for the slurry.
- Whisk continuously as the slurry goes in.
- Let it simmer one extra minute for shine.
- Taste before seasoning - drippings vary.
- Thin with broth/water; thicken with more slurry.
- Never boil vigorously - this can cause separation.
- Strain for a restaurant-smooth finish.
5 Gravy Troubleshooting Guide
Too Thick? - Thin it out by adding a little more water or broth as it simmers until you reach the desired consistency.
How To Make Gravy Thicker - Add a teaspoon of cornstarch mixed with cold water and whisk it in slowly.
Too Salty? - Adjust the saltiness by adding a little more water or slurry (if it gets too thin) while it simmers.
Too Greasy? - Fastest way is to simply skim off the grease that has floated to the top. If you have time, refrigerate it until it solidifies. The grease will float to the top and form a solid layer that can be easily removed.
How To Fix Separated Gravy - Make a small roux (1 tablespoon butter + 1 tablespoon flour) and whisk in the broken gravy slowly.
Would you like to save this?
Serving Ideas
This simple gravy recipe pairs perfectly with:
Storage & Make-Ahead Tips
Make-Ahead: Make 1 day ahead and refrigerate in a sealed container.
Refrigerate: Keeps 3-4 days.
Freeze: Freeze in small portions or ice cube trays for easy use later.
👉 Be sure to check out "Can I Freeze Gravy?" for full detailed instructions.
Reheat: Warm gently over medium-low heat. Do not boil.

FAQs
To make a homemade gravy without milk, whisk cornstarch into cold water to make a slurry, then slowly whisk the slurry into simmering pan drippings until thickened. This method is naturally dairy-free and produces a smooth, silky gravy.
To thicken a homemade gravy that is too runny, whisk 1 teaspoon cornstarch with cold water to create a slurry, then add the slurry to the simmering gravy in small amounts while whisking. Allow the gravy to bubble briefly after each addition until it reaches the desired consistency.
A homemade gravy becomes lumpy when the thickening slurry isn't fully whisked smooth before adding it to the hot drippings, or when the slurry is added too quickly. Whether you're using cornstarch with cold water or flour with cold milk, the mixture must be completely smooth before it hits the simmering drippings or broth. To fix lumpy gravy, whisk vigorously while it simmers or pour the gravy through a fine-mesh strainer to remove any remaining bits.
Recipes to Serve with This Gravy


Did you love this family recipe? As a small business, the greatest compliment you can give is a 5-star rating! Tap the ⭐⭐⭐⭐⭐ directly in the recipe card below. It helps my site grow and helps other home cooks find this nostalgic, comforting meal!
📖 Recipe

Simple Gravy Recipe
Equipment
Ingredients
- 1 cup water cold
- 1 tablespoon corn starch
- ½ cup pan drippings
Instructions
- Make the slurry. Whisk 1 tablespoon cornstarch with 1 cup cold water (or cold broth) until completely smooth.1 cup water, 1 tablespoon corn starch
- Add the slurry to the drippings. Bring the pan drippings to a gentle simmer over medium heat. Slowly whisk in the cold slurry. Keep whisking as it thickens and briefly reaches a low boil, then lower the heat to maintain a gentle simmer.½ cup pan drippings
- Taste and season. Pan drippings vary in saltiness, so taste before adding salt. Season lightly with salt only if needed, and finish with black pepper.
- Strain (optional). For a smooth gravy, pour the hot gravy through a fine-mesh strainer to remove any bits or lumps.
- Serve warm. Transfer to a microwave-safe gravy boat or small serving pitcher and keep warm until ready to serve.
Notes
• Add the slurry slowly. Pour it into simmering drippings while whisking constantly so the gravy thickens smoothly.
• Let it bubble briefly. Cornstarch reaches full thickening power only after it comes to a low boil.
• Adjust thickness easily. For thicker gravy, add a little more slurry; for thinner gravy, whisk in a splash of broth or water.
• Taste before seasoning. Pan drippings vary in saltiness. Add salt only if needed and finish with black pepper.
• Strain for a smooth finish. Run the gravy through a fine mesh strainer to remove any bits of meat or lumps.
• Keep warm gently. Hold the gravy on low heat or in a microwave-safe gravy boat. Overheating can cause separating.
• Reheat carefully. Warm slowly on the stovetop or in the microwave, stirring between intervals.
Jessica Robinson says
My mom used a gravy measuring cup separator to help skim off excess fat. This is such a great and well-laid out instructions and details on making homemade gravy! Love your detailed images and a visual for steps.
Seanna Borrows says
That's a great suggestion! Thanks so much, Jessica!
Russ B says
Awesome on turkey and potatoes!
Seanna Borrows says
Thanks Russ. It's the easiest thing ever to make. And so delicious!